
January 15, 2025
v 1.2.8
Improved Collections
Performance Update makes opening your Framer projects 2.5X faster and comes with a brand new loading state.
Projects now have much smoother loading states
Sites become interactive 50% faster than before
A11Y: In-App Settings can now be tabbed through
Name
Role

Read more
Gameplay & User Experience
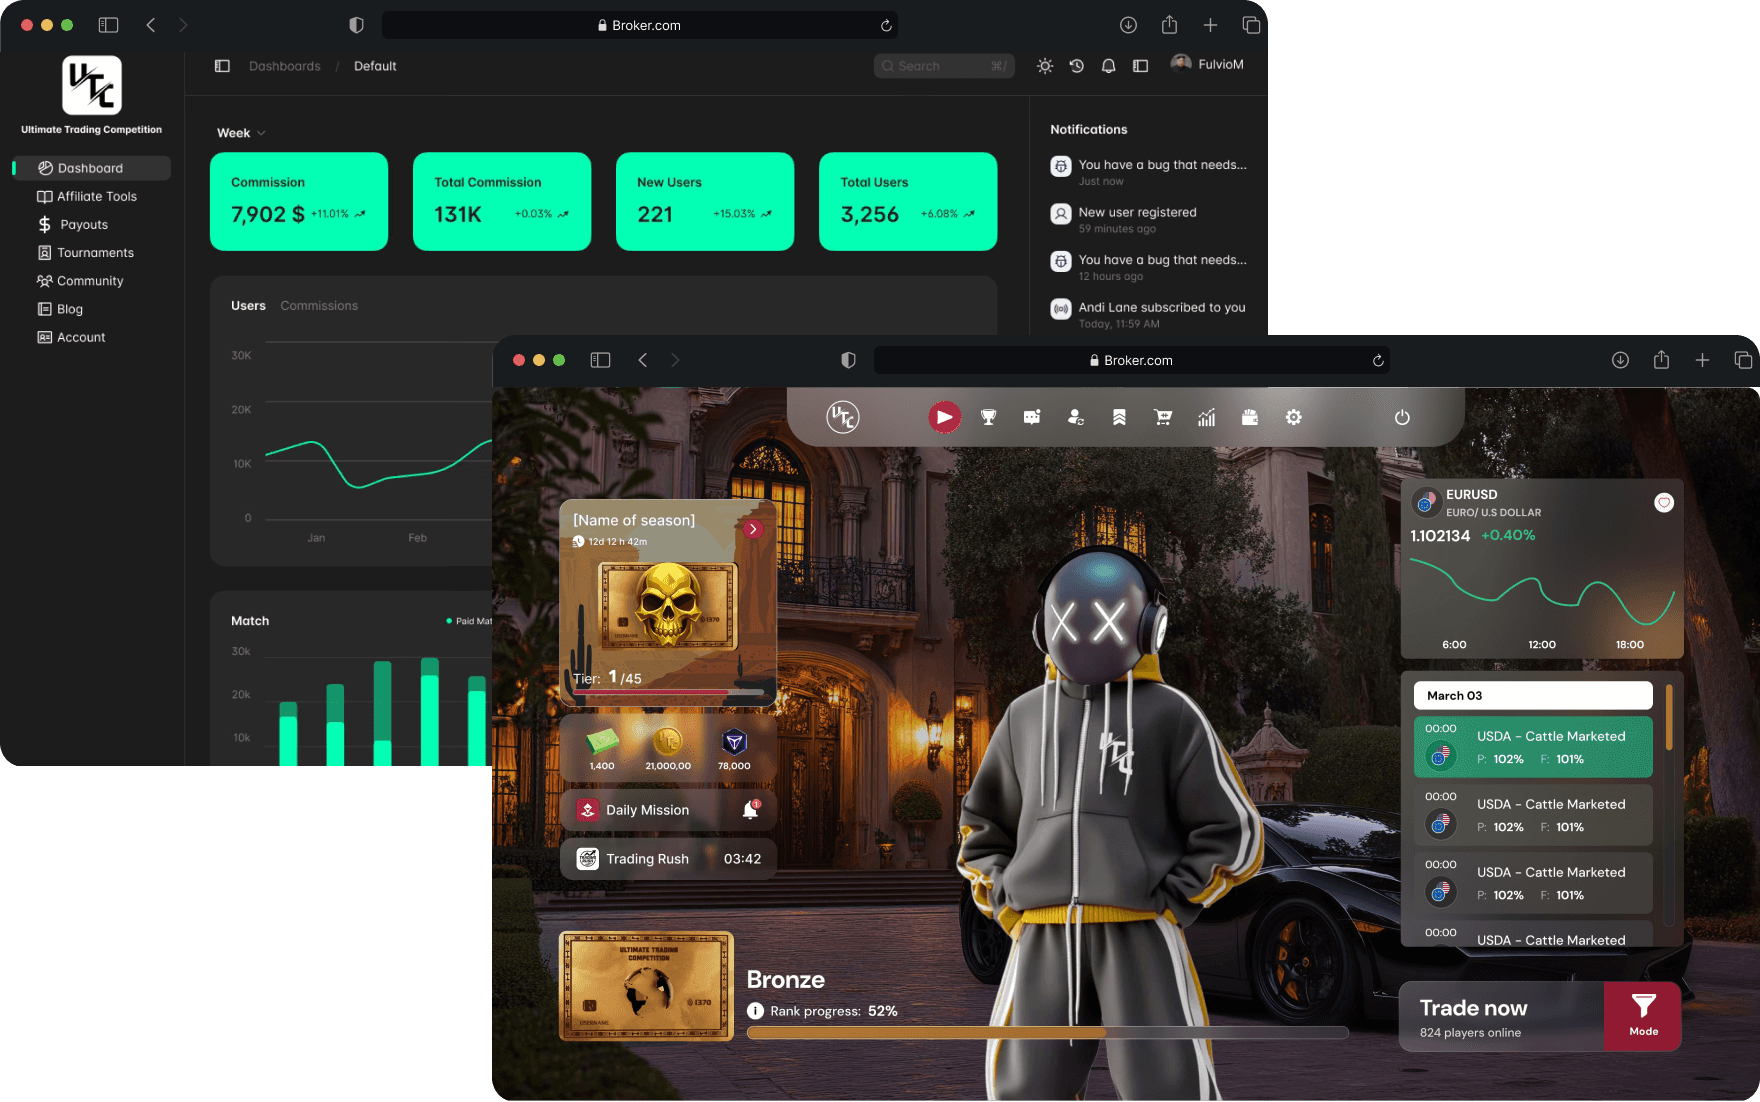
Admin Broker Dashboard
Revenue & Marketplace
01
Gameplay & User Experience
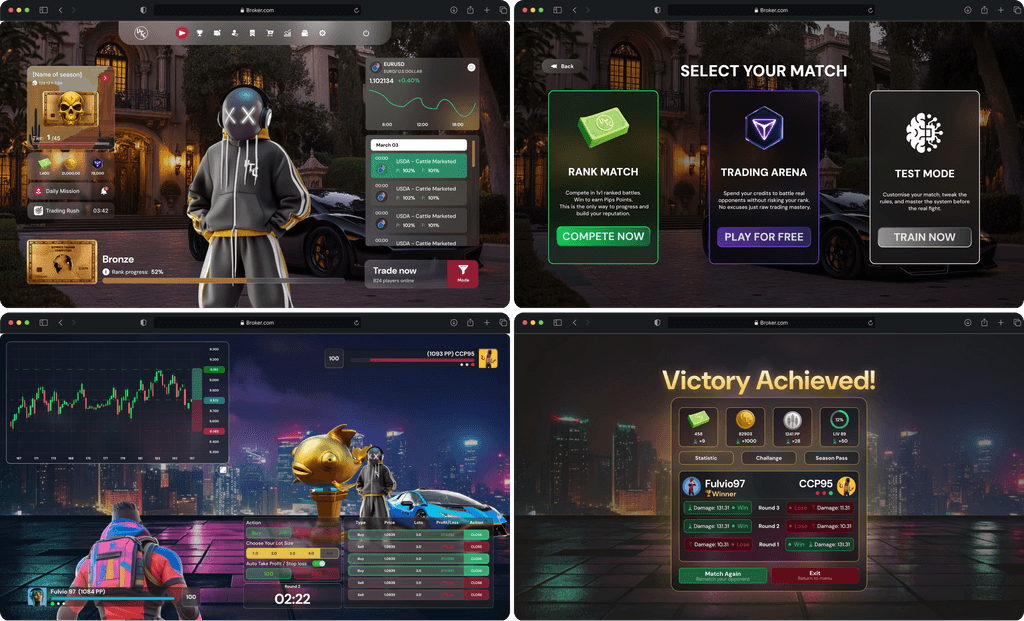
UTC redefines how traders engage with your platform. Each match is a live 1v1 battle on real-time charts, where every trade delivers impact. Take profits win rounds. XP, missions, and ranking systems turn traditional trading into an addictive, competitive experience designed to keep users active, engaged, and coming back.
Version
Sophia's Retail Breakthrough
Sophia, the marketing lead at Trendify, used AI-driven analytics to dive deep into customer behavior. The insights led to a 40% increase in engagement and a 30% rise in repeat purchases, creating long-term customer relationships.
gain in retention
$
surge in profits

Emily's E-commerce Success
Emily, the CEO of BloomTech, transformed their marketing efforts using AI-powered tools. This shift resulted in a 60% increase in ROI and a 45% improvement in customer personalization, leading to a surge in brand loyalty
growth in sales
$
rise in engagement

CMO,South America Broker on Organic Acquisition
“UTC's gamified features and community challenges led to a 3x increase in organic sign-ups within 60 days. Our traders began sharing their achievements, turning them into brand ambassadors and reducing our reliance on paid advertising.”
Organic Sign Ups
$
Money Spend in ADS



GraduationCap
Tonno


Total Users
Today Earns
FTD
Fees
Total PVP
AF




Join
+
other loving customers
This is an example text where each feature and/or bug fixes can be explained more in detail. Get started by clicking CMS in the Toolbar. Then, from the left sidebar, get started with some sample data of a blog (recommended), or create a new Collection from scratch. Once a collection is created, you can add and edit entries from the CMS view. If you picked Sample Data, a few example blog posts were already created for you. You can edit or remove those at any moment.
Editing Fields
You can choose to set up different types of input fields depending on your content. For instance, a blog might have a title, a slug (final part of the URL) and a long-form field for formatted content. These might be different for a product directory or a photo blog, where you might need to add an image field. To edit those fields, click any of the column titles. You’ll be presented with a modal to add new fields, where you can also re-arrange or delete the existing ones.
Adding Content
After setting up your own content, go back to the canvas. In the insert menu, by navigating to the CMS Content section, you’ll notice that a collection is now available to be drag & dropped in the canvas. This a special Stack connected with data. The layer will be repeated by the number of items of the collection, and automatically filled with each item data. You’re free to edit the look of it as you please, just as you would with a normal Stack.
Adding a Page
Now that you have a list of articles for your blog, let’s add a special page that will be automatically populated with data from the CMS, where the visitors will be able to read the articles. From the page menu, click the + button and choose CMS Page, then pick a collection (e.g. Blog) for your detail page. A new page will be created, displaying content pulled from the first entry of the collection you picked.
Linking Articles
When you add a page with content, each entry in the collection list (e.g. blog index) should be linked automatically to its corresponding page. If linking is not working in your project, make sure that the first item of the Collection List has a link setup in this way:
